How Can We Help?
Creating a Jobsite
This article explains how to create a Jobsite record in the Command Scheduling from the Web Application.
Instructions
To create a new Jobsite record in Command Scheduling, complete the following steps:
-
- Log on to the Command Scheduling web application at https://app.foresitemanager.com/
- Once logged on, click on the Jobsites link in the side navigation.

- After clicking on the Jobsites List link, you’ll be taken to the Jobsite List table.
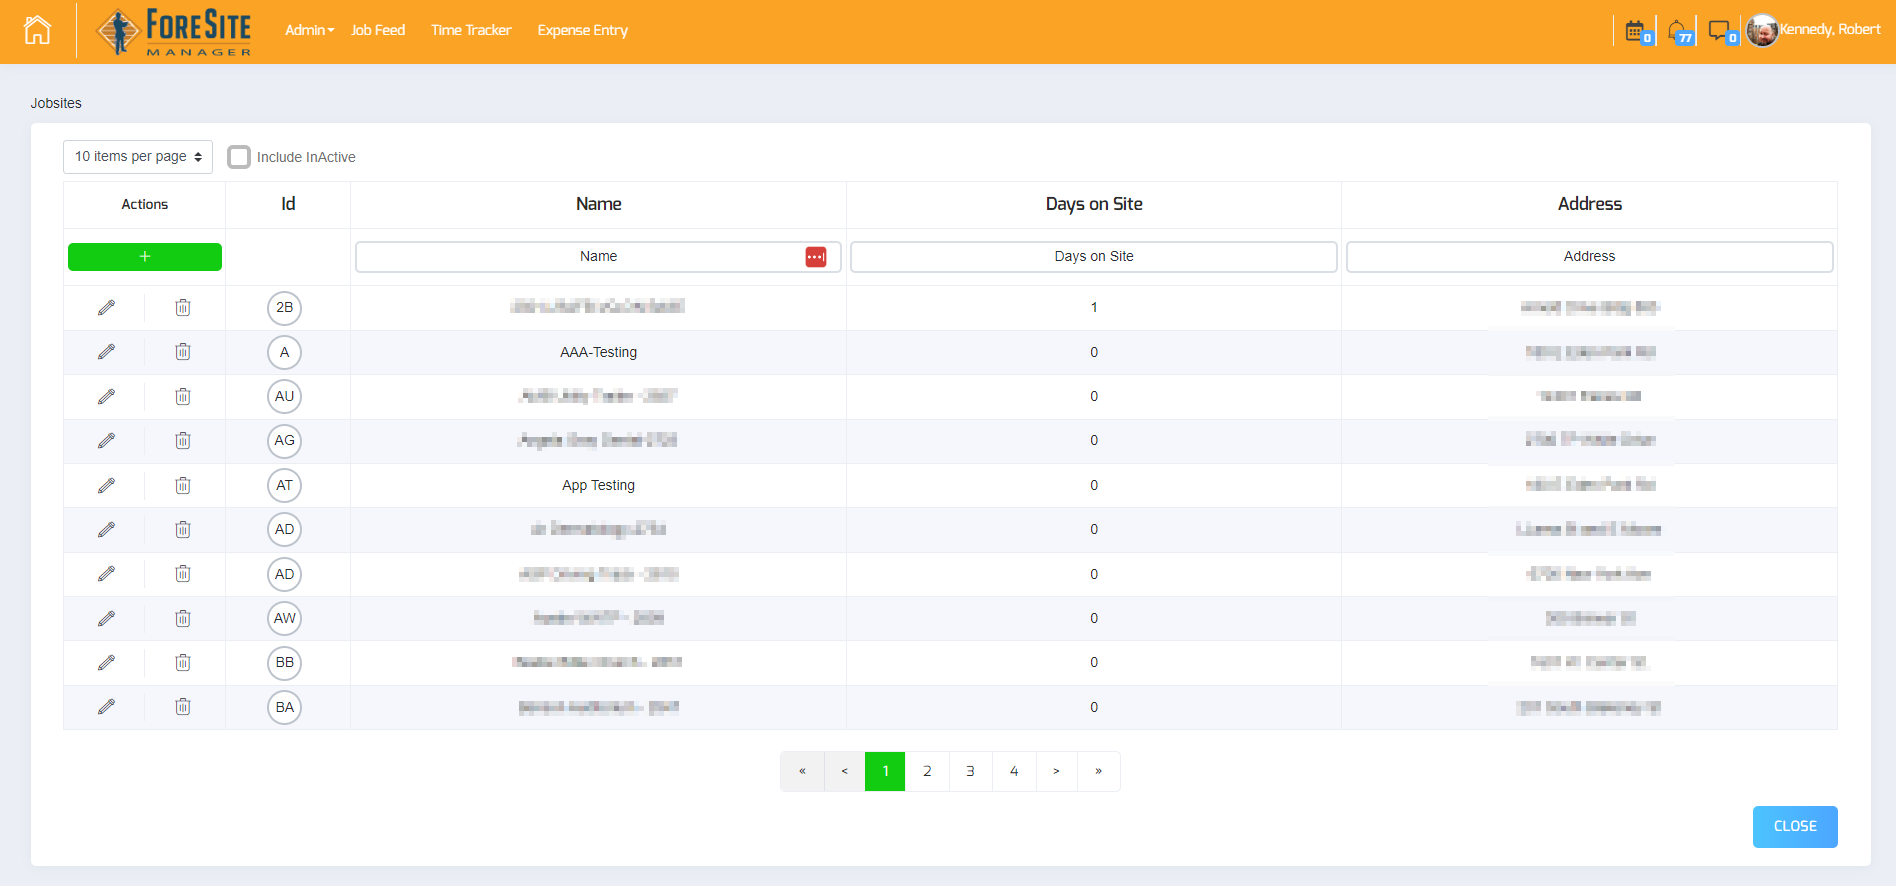
- A few notes on the information and icons displayed.
- Add Jobsite – The large “+” icon at the top of the page allows the user to add a new jobsite to the system.
- Include InActive – Clicking this checkbox toggles table to include all (Active and Inactive) jobsites in the system.
- Delete – The “trash” icon allows the user to delete an jobsite record. NOTE: A jobsite cannot be deleted if it is on or has been on a schedule. You must remove the jobsite from all schedules before deleting it.
- Edit – The edit icon allows the user to edit the jobsite record in question.
- Now that we know what we’re looking at, let’s add a jobsite. Click on the Add Jobsite icon. You should be taken to the New Jobsite page:
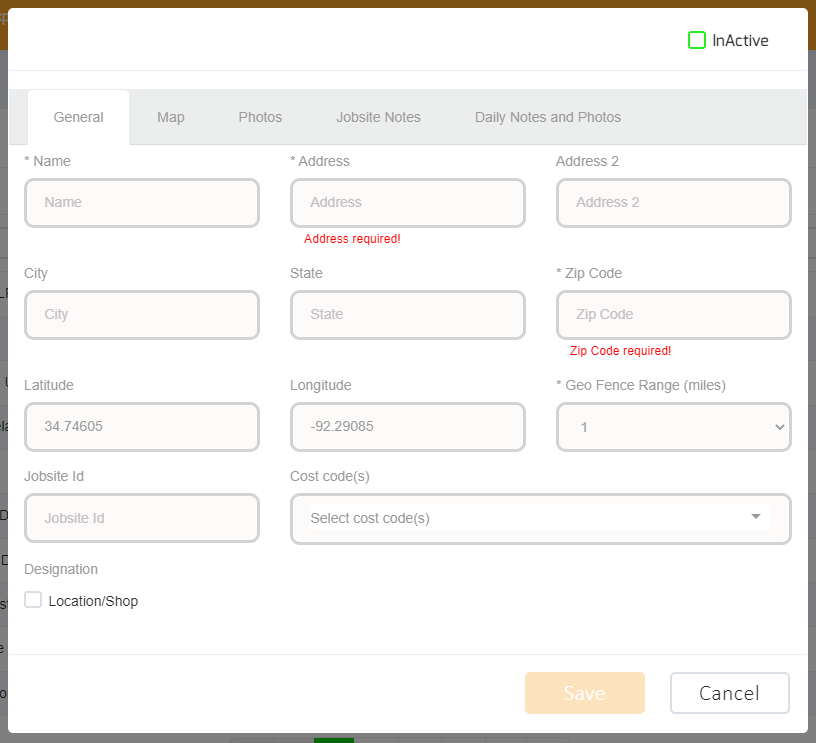
- Let’s take a look at each of these fields on the General tab and what they mean:
- Name – This is a required field. Pretty self explanatory. Jobsite name.
- Address Line 1 – This is a required field. Pretty self explanatory. Address of the jobsite.
- Address Line 2 – Just like on a regular mailing address, the jobsite may need to include apartment or suite information.
- City – City of the jobsite.
- State – State of the jobsite.
- Zip – This is a required field. Zip code of the jobsite.
- Latitude – This is the latitude of the jobsite. This will be filled in from the Map tab.
- Longitude – This is the longitude of the jobsite. This will be filled in from the Map tab.
- GeoFence Range (miles) – Drop down field. Allows the user to select the range (in miles) to establish a geofence around the jobsite. This is used in location tracking services.
- Jobsite ID – Text Field. This is useful in linking to an external system that tracks your jobsite data. For example, this could be the ID associated with your job in a payroll or accounting software.
- Cost Codes – Multi-select field. Allows the user to select all the cost codes that will be used when tracking time for this particular jobsite. Cost codes must be selected here prior to adding them to a daily schedule.
- Designation – Selecting this checkbox designates this Jobsite as a “Shop.” This is useful in the Equipment module.
- Inactive – Selecting this checkbox marks the Jobsite as inactive and it will not show up on reports or be available for scheduling.
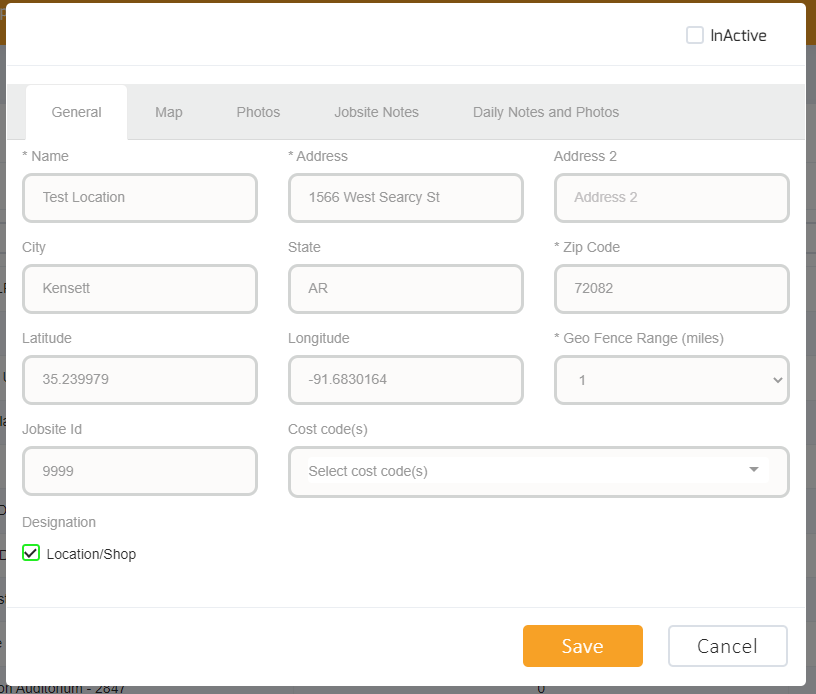
- Now that we know what each field is for, let’s fill out the information accordingly. Here’s what the completed form looks like:
- Before we save this record, we need to make sure the location is properly configured. Click on the Maps tab.
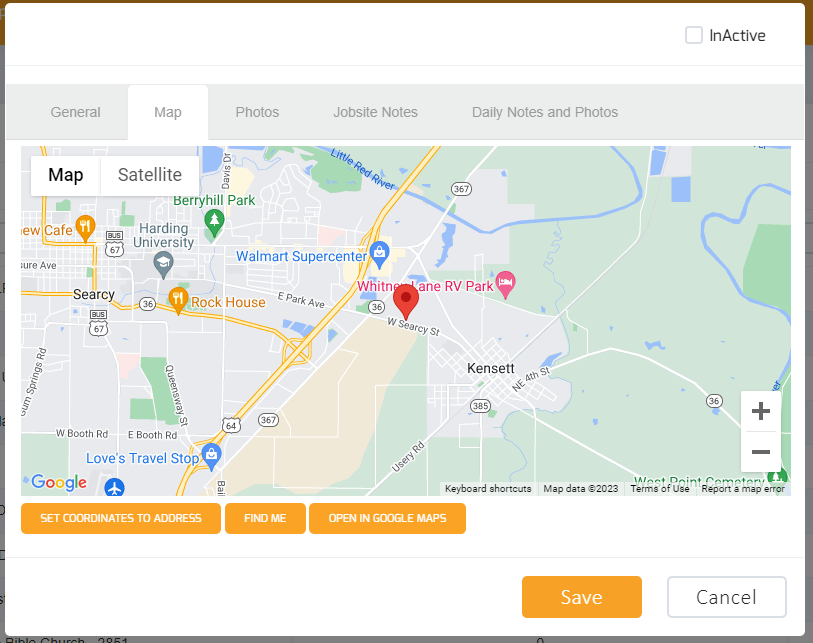
- Upon clicking on this tab, you’ll notice a Google map interface. The pin should default to the company address. From here, you have a few options.
- Set coordinates to address – This centers the pin on the address that was entered on the General tab. This is useful for getting the general vicinity of a jobsite and then allowing the user to drag the pin to further refine the location.
- Find Me – Clicking the Find Me button tells the system to use your current location as the coordinates for the jobsite. This is very useful when bidding jobs on site.
- Open in Google Maps – This button opens Google Maps (app or website) for the user to with the jobsite destination ready for navigation.
- Once you’ve set the location for the jobsite, you can Save the jobsite record.
- The next few tabs are optional. Click on the Photos tab.
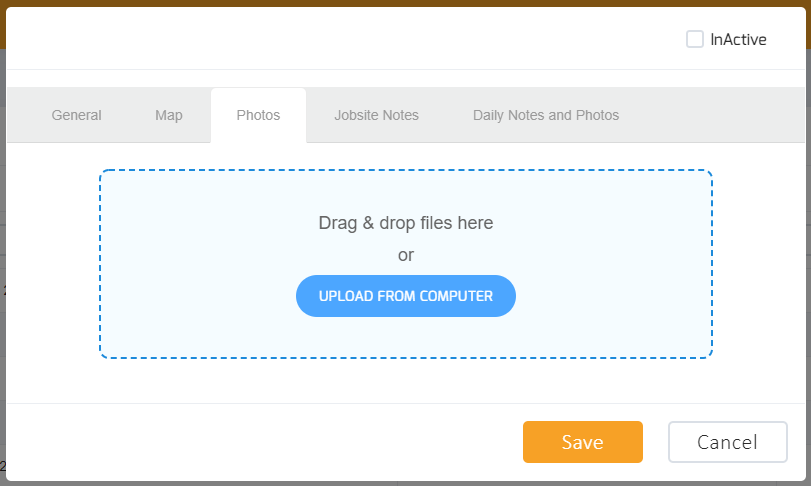
- This tab allows the user to upload jobsite photos and attach them to the jobsite record. Again, this is very useful in the bidding process. Simply click on the Choose images button to select and upload images for this particular jobsite.
- Once you’ve finished with the Photos, click on the Jobsite Notes tab.
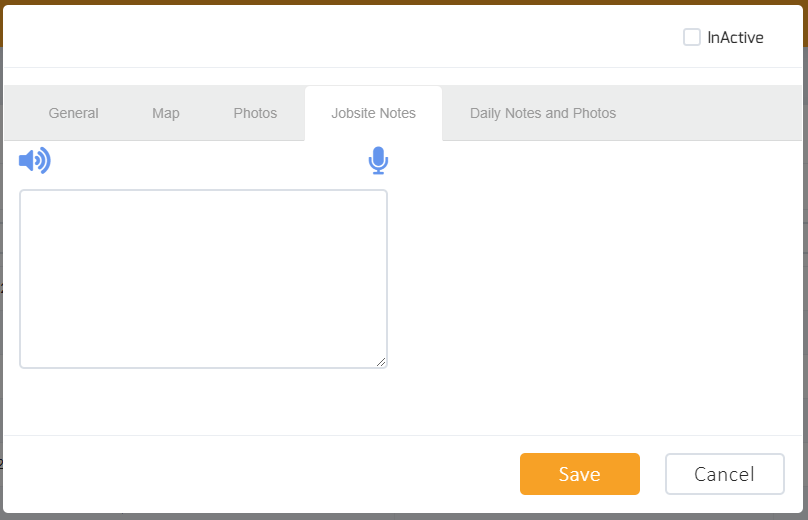
- This tab allows you to enter notes related to this particular jobsite. This isn’t to be confused with Daily Notes, which are entered elsewhere in the system. These notes are all about the jobsite. Information in this field may include Construction Superintendent contact, Approved Vendors, Mix Formula, etc. This information can be entered via keyboard or by using the speech-to-text function by clicking on the microphone icon. The information can also be read back to the user with the text-to-speech function by clicking on the speaker icon.
- Once you’ve completed this information, click on the Daily Notes and Photos tab.
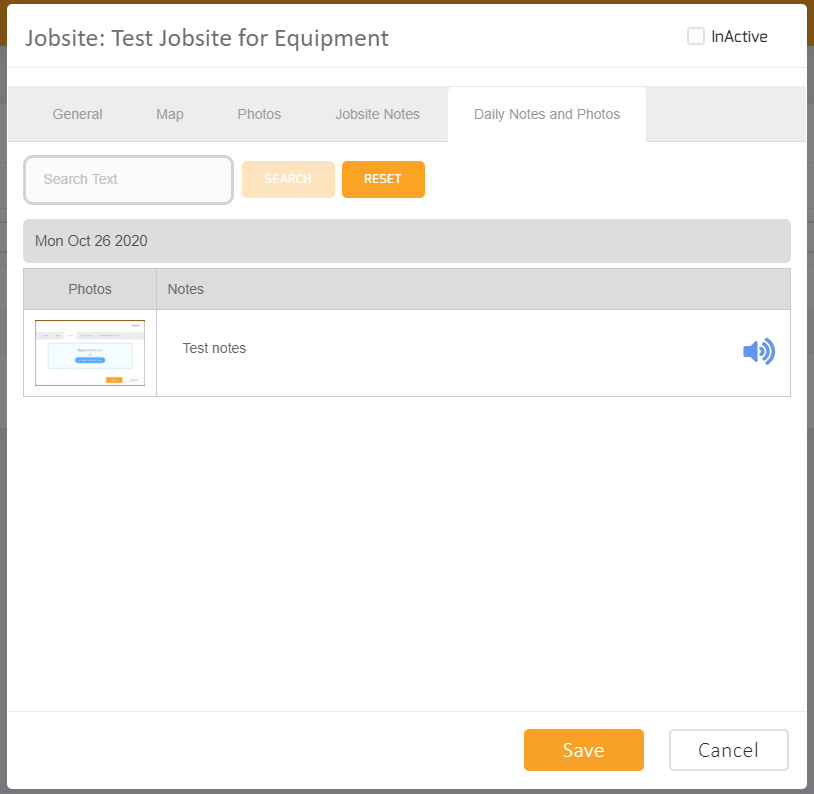
- This tab will contain a listing of all Daily Notes and Photos entered on various End of Day report activities for the jobsite in question. This tab also allows you to search for notes using the search function.
- Once you’ve completed all of the required fields for the jobsite record, click on the Save button.
- And that’s it! Congratulations! You just set up an jobsite in the ForeSite Manager application.
