How to Use the End of Day Wizard and Report
The End of Day Wizard and Report are tools that allow company stakeholders to gain insight into all the jobs as they wrap up each day. Whereas the Job Feed allows you to monitor real-time events as they happen, the End of Day Report allows the user to see that entire day at a glance. The End of Day Report is generated by the Team Lead at the end of each shift and, when published, is emailed to all individuals that have opt-in to receiving these reports. Below we will look at how to configure Employee profiles to receive these reports, how to complete the EOD Wizard, and how to view and approve the finalized report.
Configuring the Employee Profile
To configure an Employee profile to receive EOD Reports:
- Access the Employee profile that needs to receive the reports by clicking on Employee → List and clicking on the Edit icon for the Employee in question.
- On the Employee profile, click on the EODSubscription checkbox.
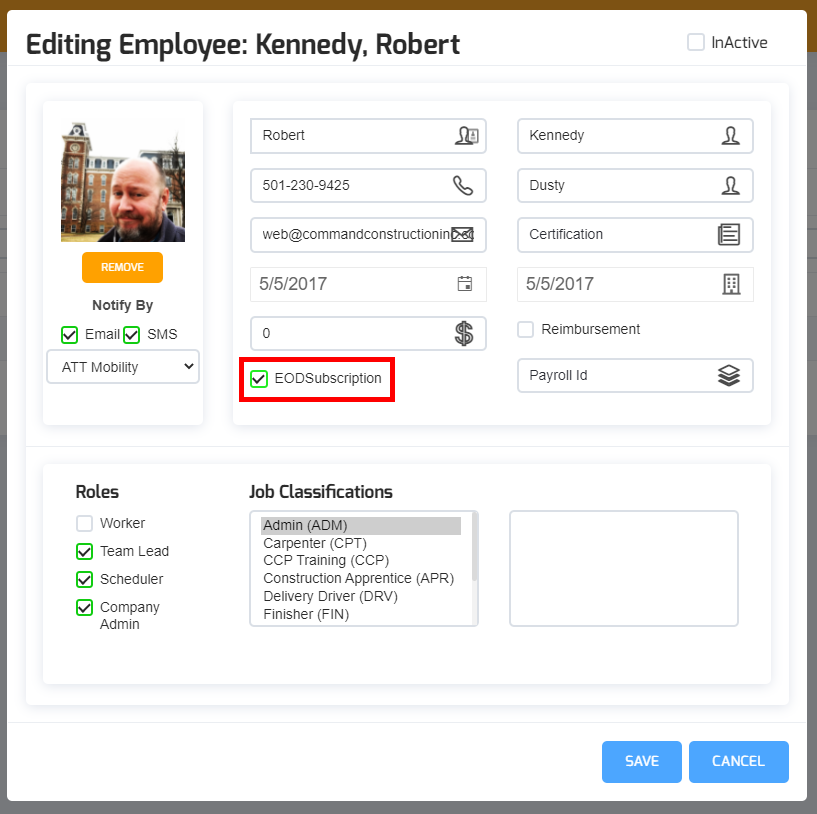
- Once the checkbox is selected, click Save.
- And that’s it! The user will now receive an email of all EOD Reports.
Completing the End of Day Wizard
Before an End of Day Report can be generated, a Team Lead, Scheduler, or Admin must complete the End of Day Wizard. The good thing about this is that the user can complete/verify parts of this wizard throughout the day. If the user ever needs to save the wizard in the middle of working on it to complete at a later time, all information is saved and the user can pick up where they left off or go back to any step in the process.
- To access the End of Day Wizard, the user needs to access the Job Feed for the job in question by either going to the Job Feed page and selecting the Jobsite or selecting the Job Feed icon on the schedule for the job in question.
- Upon accessing the Job Feed page for the job in question, click on the End of day wizard link in the left navigation menu.
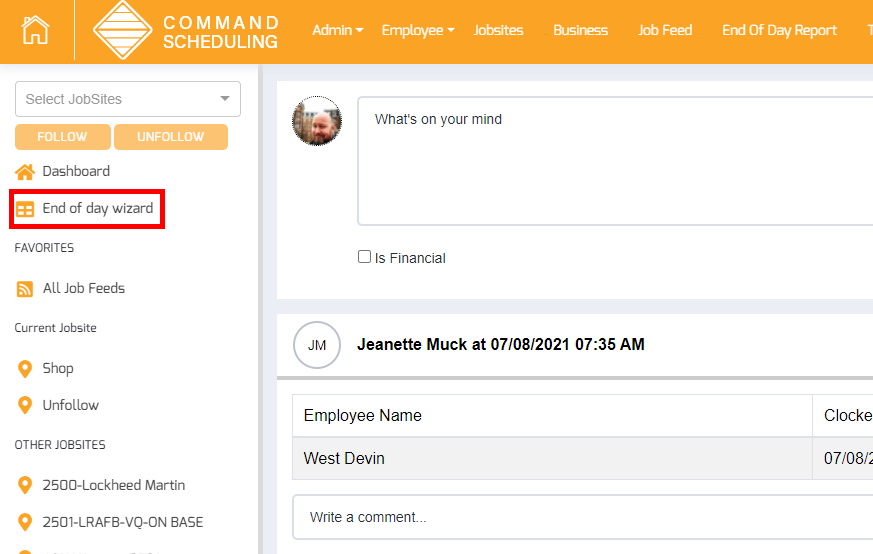
- Clicking on this link will open up the EOD Wizard interface.
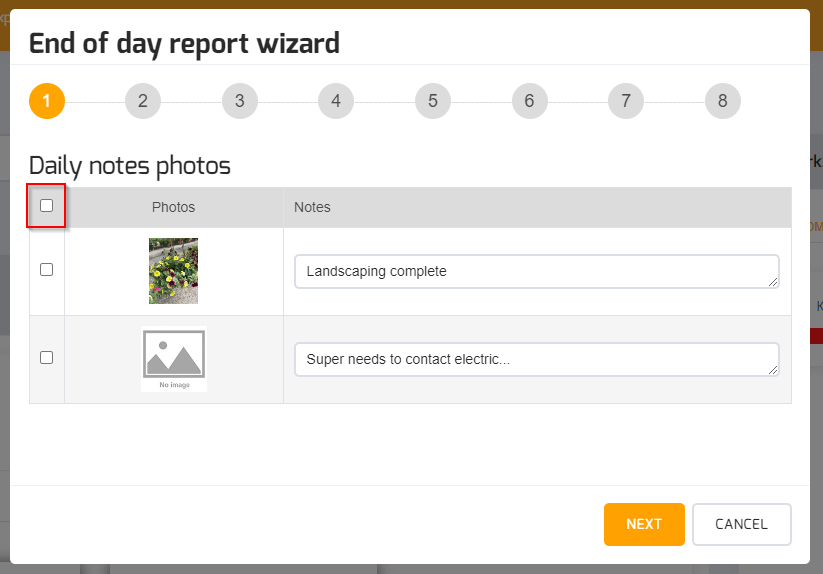
- Step 1 of the Wizard is to select what photos and notes you would like to include on the report. To do this, simply click on the checkbox beside each photo/note to make sure it’s included. If you want to include everything, click on the top checkbox (as indicated in the image below) to include all photos/notes on the report. The user also has the ability to edit the notes on this step. Should you need to add more, simply close the wizard and add then via the appropriate means (Job Feed) and return to the Wizard when you are ready to proceed. When ready, simply click the Next button.
- Step 2 in the Wizard allows the user to add or modify information for the Report Header. This includes:

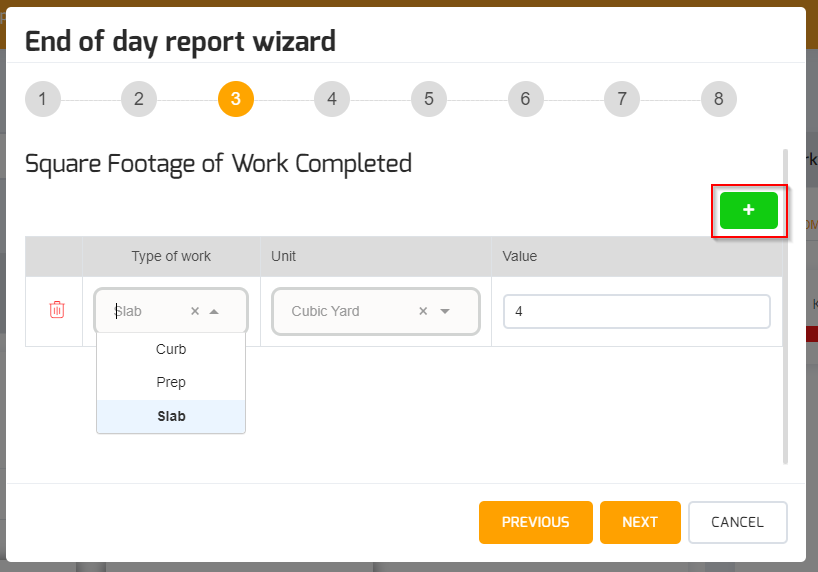
- Step 3 of the Wizard allows the user to add types and amounts of work completed. Clicking on the Add button in this step creates a line item for the user to select from a pre-determined set of work types (future releases will allow admin users to maintain this list). Upon selecting a Type of Work, the user is then able to select a Unit. The Unit is the type of measurement used to define the Value that will be entered. This list can be maintained by going to Admin → Unit. And finally, enter the value for the amount of work for that unit. For example, Slab on Grade for the type of work, unit of square feet, with a value of 360. That tells the reader of the report that 360 ft of slab on grade work was done that day. The user has the ability to add multiple line items for additional work completed.
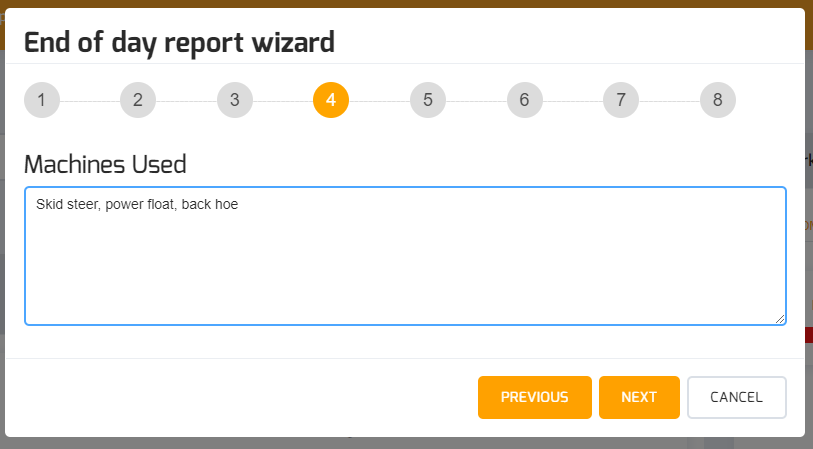
- Step 4 allows the user to verify the equipment types used on the schedule that day. This information is pulled from records on the Equipment schedule. If a piece of equipment has a time entry for that day for that jobsite, it should be reflected here. The user is also given the ability to enter notes in this field about the equipment used.
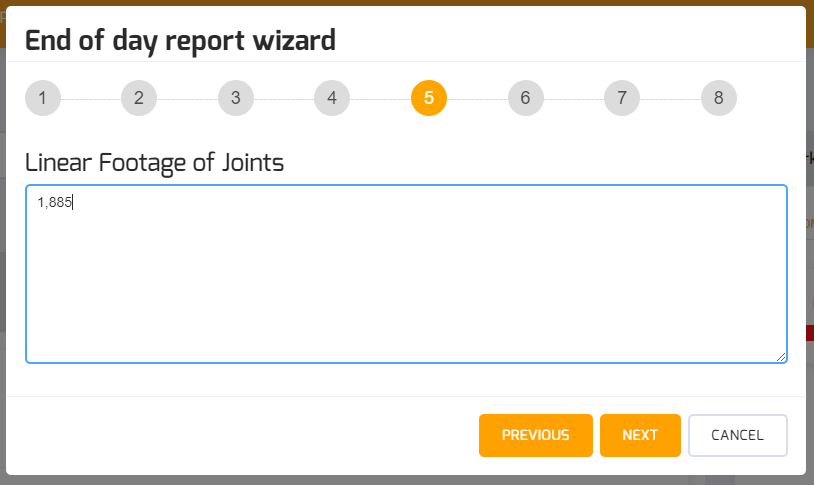
- Step 5 allows the user to input notes about linear footage of joints. This is a free form text field that allows the user to enter as much text as needed to describe all needs or outcomes.
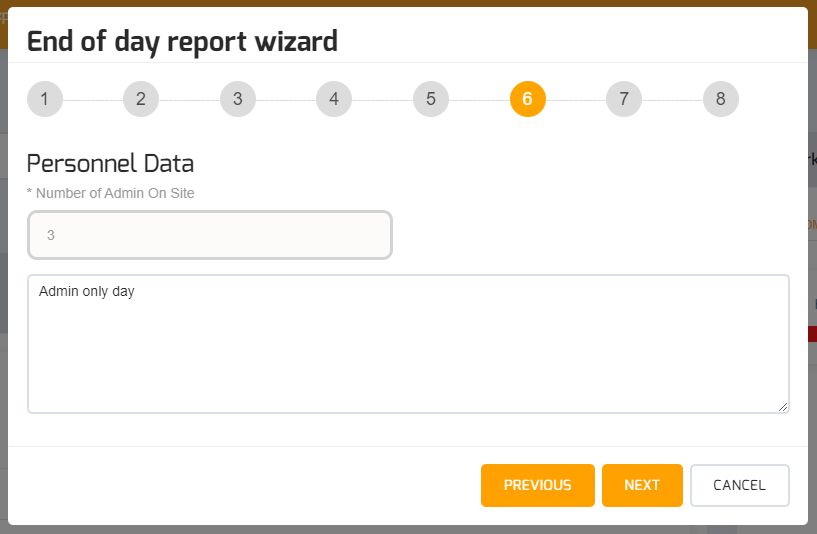
- Step 6 focuses on displaying the categories of employees scheduled for the Jobsite for the day in question. This page also allows the user to enter any notes related to personnel on-site for that day.
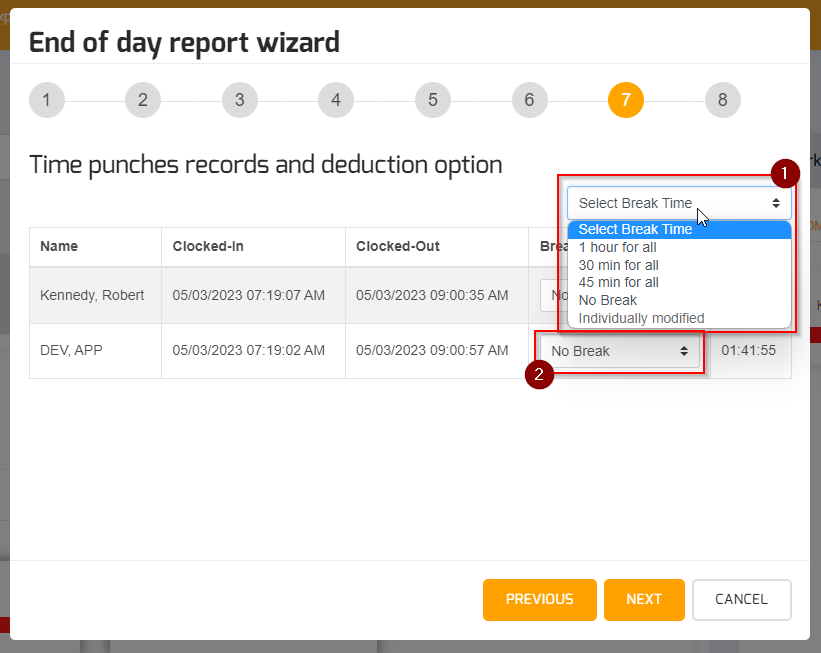
- Step 7 focuses on time punches for everyone clocked into and out of that site for the day. This step also allows the user to assign a lunch break that should be deducted from the daily time punch. Options are listed in the screenshot below. Quick note: if the user is going to Individually Modify each employee, it is not necessary to select “Individually Modified” in the top box. Simply modifying an individuals time will force that selection.
- Finally, if you are using cost codes for your time tracking, Step 8 allows you to allocate your time and your employees’ time to the configured cost codes for the schedule. Use the sliders to allocate the percent of time for each type of work done each day.
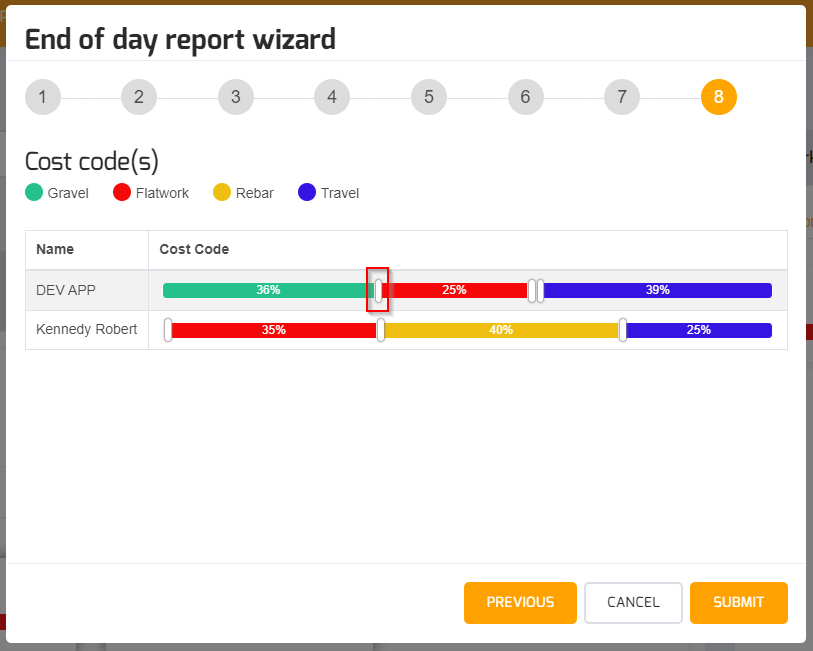
- Once the time records are to your liking and you are finished with the End of Day Wizard, simply click Submit and you’re done!
Accessing and Publishing the End of Day Report
Once all of the information has been entered and submitted, the user can then view the End of Day Report for the Jobsite in question. Once satisfied with the report, the user can also Publish the report for email delivery.
- To access the End of Day Report, click on the End of Day Report navigation link and select the Jobsite in question.

- Once the Jobsite is selected, the report will be displayed.
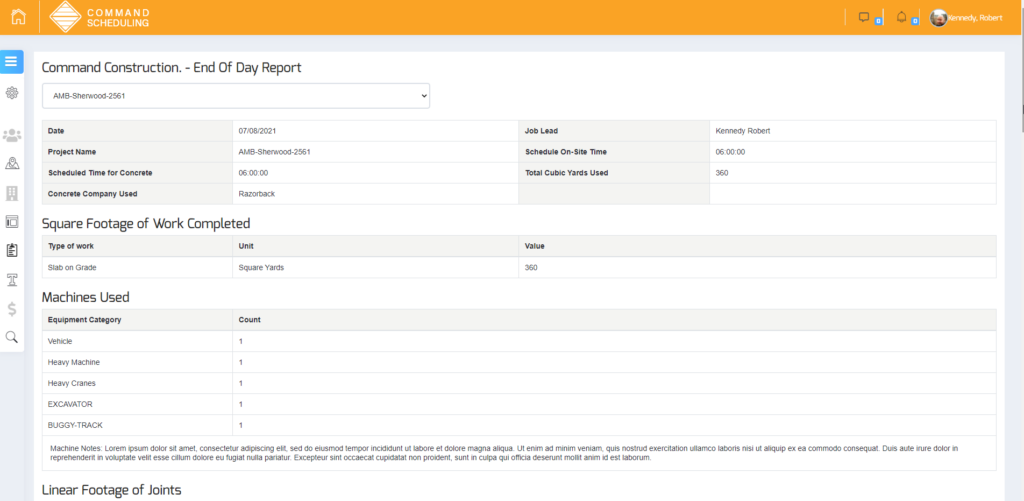
- If changes need to be made, simply go back into the EOD Wizard and make corrections. If everything looks good, click on the Approve button at the bottom. If ready to publish the report to EOD Subscribers, click on the Publish button.
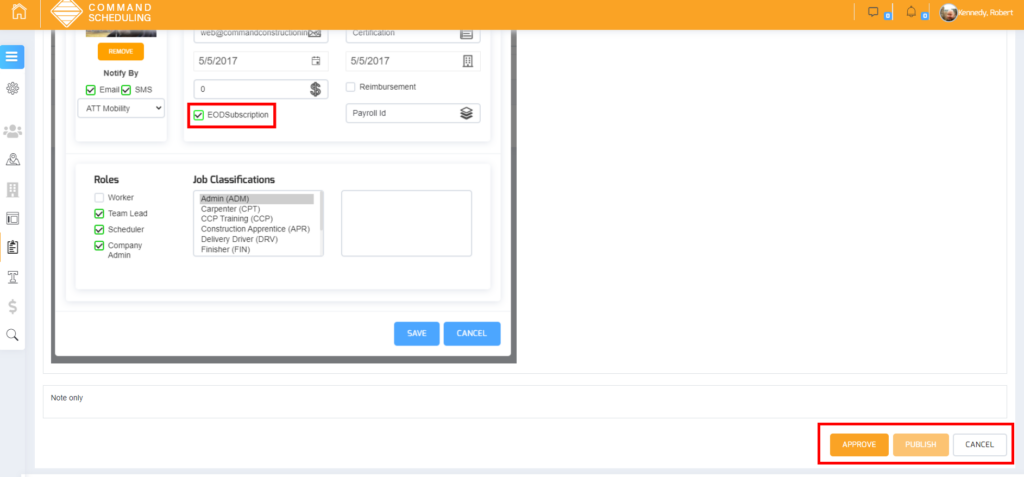
NOTE: A report must be approved before it can be published.
And that’s it! The End of Day Report process is complete. All EOD Subscribers will receive an emailed report in their inbox.
